|
Shropshire Union Canal
Between Market Drayton and Beeston |
 |
Click the photo to the sub menu - Cliquer la photo pour le sous-menu |
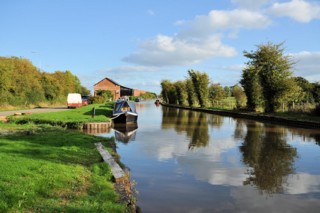
Market Drayton
|
Click the photo to the sub menu - Cliquer la photo pour le sous-menu |
Market Drayton
|
Click the photo to the sub menu - Cliquer la photo pour le sous-menu |
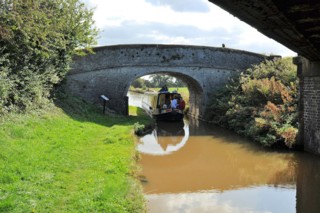
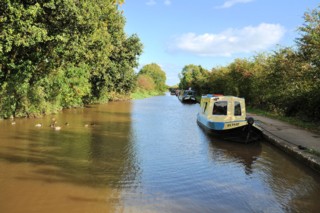
Brownhills |
Click the photo to the sub menu - Cliquer la photo pour le sous-menu |
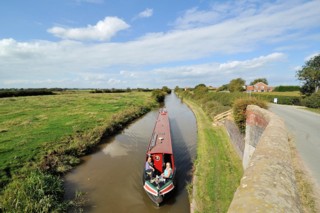
Ridgwardine |
Click the photo to the sub menu - Cliquer la photo pour le sous-menu |
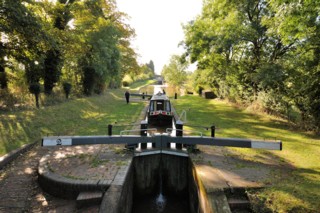
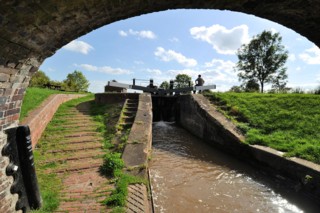
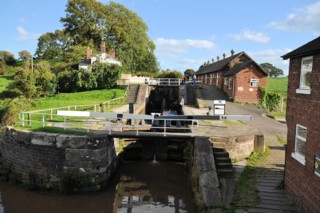
Adderley Locks |
Click the photo to the sub menu - Cliquer la photo pour le sous-menu |
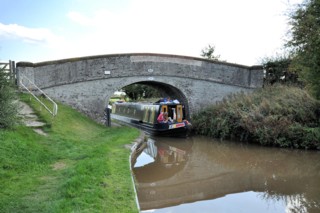
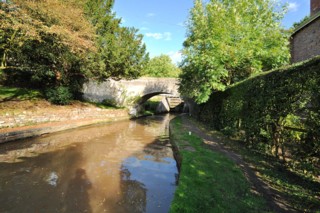
Castle Hill |
Click the photo to the sub menu - Cliquer la photo pour le sous-menu |
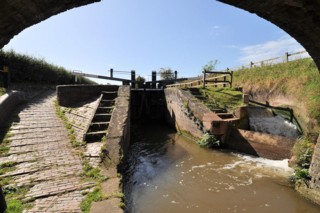
Audlem Locks |
Click the photo to the sub menu - Cliquer la photo pour le sous-menu |
The Laurels |
Click the photo to the sub menu - Cliquer la photo pour le sous-menu |
Coole Pilate |
Click the photo to the sub menu - Cliquer la photo pour le sous-menu |
Hack Green |
Click the photo to the sub menu - Cliquer la photo pour le sous-menu |
Hack Green Locks |
Click the photo to the sub menu - Cliquer la photo pour le sous-menu |
Baddington |
Click the photo to the sub menu - Cliquer la photo pour le sous-menu |
Edleston |
Click the photo to the sub menu - Cliquer la photo pour le sous-menu |
Nantwich |
Click the photo to the sub menu - Cliquer la photo pour le sous-menu |
Acton |

Click the photo to the sub menu - Cliquer la photo pour le sous-menu |
Burford |
Click the photo to the sub menu - Cliquer la photo pour le sous-menu |
Hurleston |
Click the photo to the sub menu - Cliquer la photo pour le sous-menu |
Stoke Bank |
Click the photo to the sub menu - Cliquer la photo pour le sous-menu |
Barbridge |
Click the photo to the sub menu - Cliquer la photo pour le sous-menu |
Wardle |
Click the photo to the sub menu - Cliquer la photo pour le sous-menu |
Wardle Covert |
Click the photo to the sub menu - Cliquer la photo pour le sous-menu |
Calveley |
Click the photo to the sub menu - Cliquer la photo pour le sous-menu |
Bunbury
|
Click the photo to the sub menu - Cliquer la photo pour le sous-menu |
Bunbury
|
Click the photo to the sub menu - Cliquer la photo pour le sous-menu |
Tilstone Lock |
Click the photo to the sub menu - Cliquer la photo pour le sous-menu |
Beeston Stone Lock |
Click the photo to the sub menu - Cliquer la photo pour le sous-menu |
Beeston Brook |
|
Visitez/Bezoek/Visit
Click on the image - cliquer sur l'image |
|
Walking the British Waterways |
|
|