|
Lancaster Canal
From Lancaster to Kendal |
 |
Click the photo to the sub menu - Cliquer la photo pour le sous-menu |
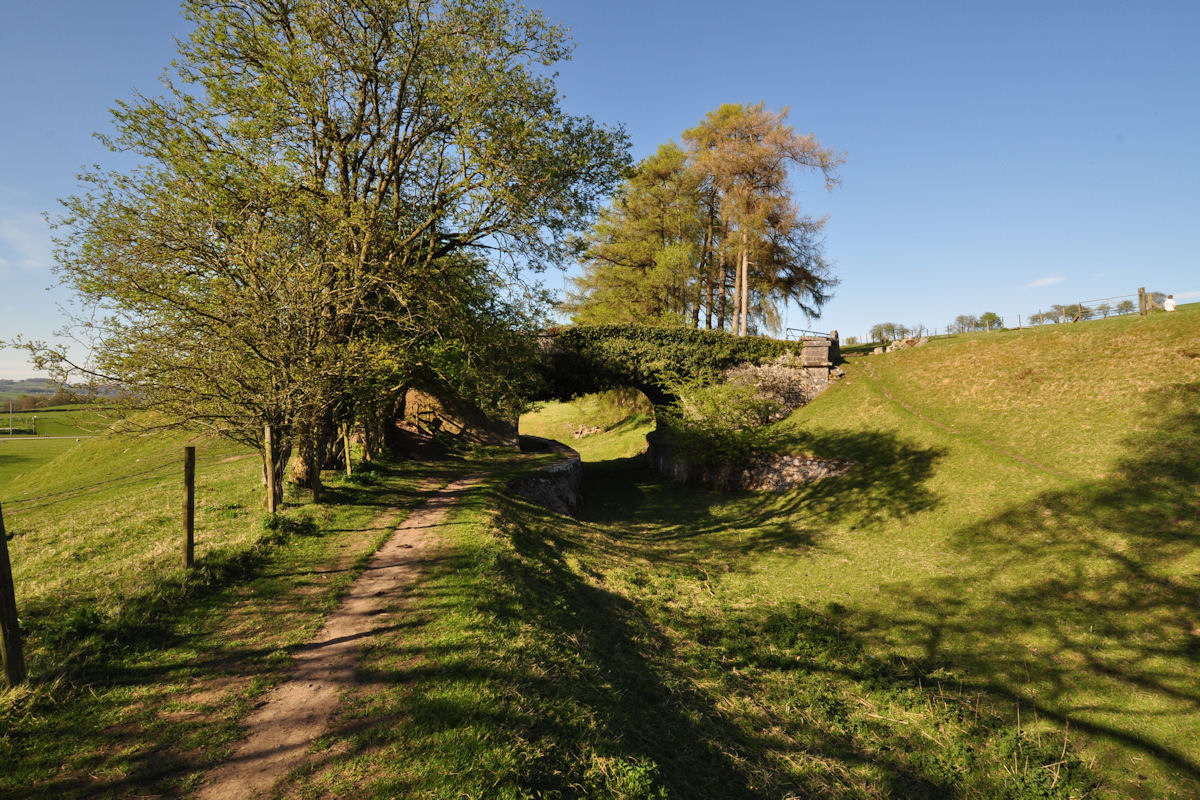
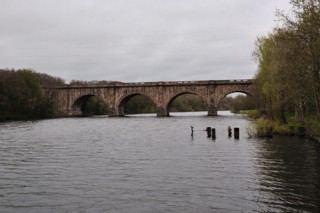
Lancaster |
Click the photo to the sub menu - Cliquer la photo pour le sous-menu |
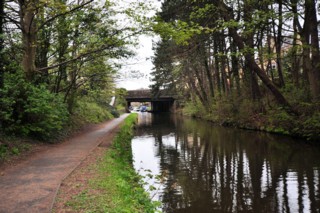
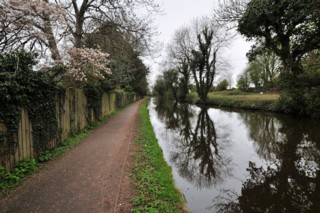
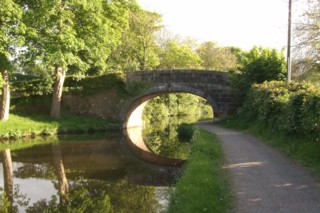
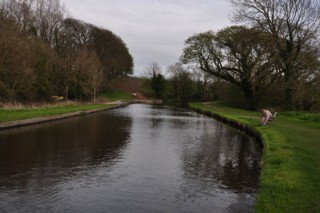
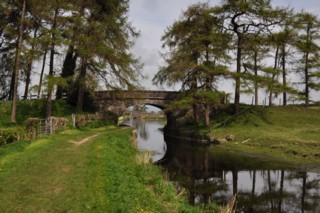
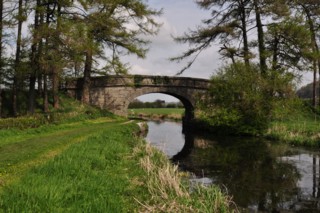
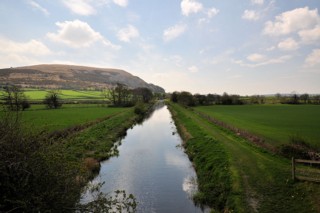
Moorlands |
Click the photo to the sub menu - Cliquer la photo pour le sous-menu |
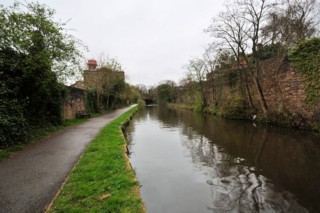
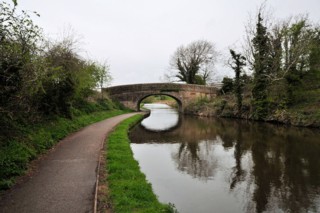
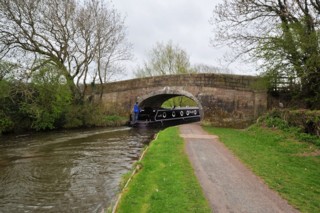
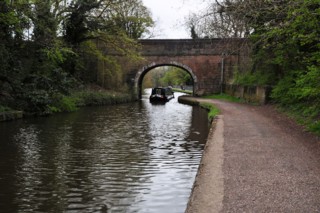
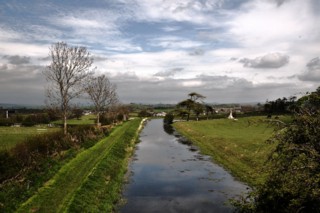
Bulk |
Click the photo to the sub menu - Cliquer la photo pour le sous-menu |
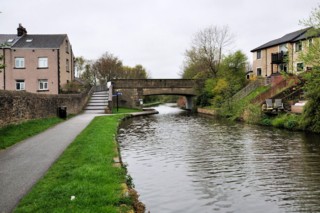
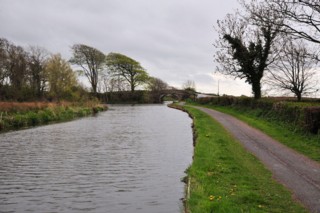
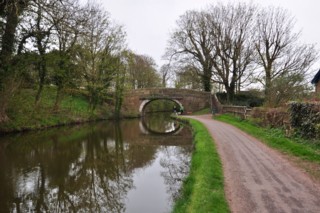
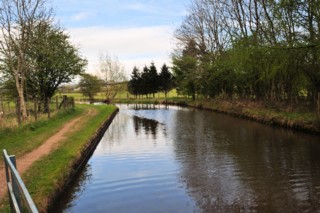
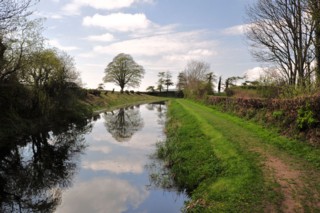
Newton |
Click the photo to the sub menu - Cliquer la photo pour le sous-menu |
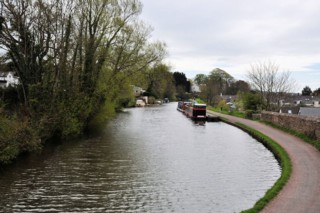
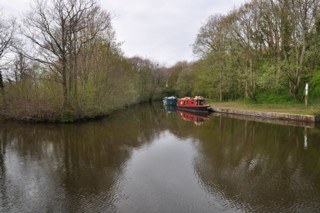
Beaumont Hall |
Click the photo to the sub menu - Cliquer la photo pour le sous-menu |
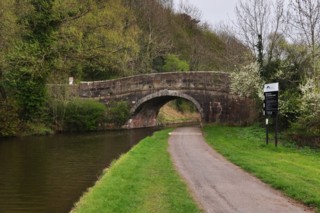
Folly |
Click the photo to the sub menu - Cliquer la photo pour le sous-menu |
Belmount |
Click the photo to the sub menu - Cliquer la photo pour le sous-menu |
Brantholme |
Click the photo to the sub menu - Cliquer la photo pour le sous-menu |
Hest Bank |

Click the photo to the sub menu - Cliquer la photo pour le sous-menu |
Bolton Town End |
Click the photo to the sub menu - Cliquer la photo pour le sous-menu |
Bolton-le-Sands
|
Click the photo to the sub menu - Cliquer la photo pour le sous-menu |
Bolton-le-Sands
|
Click the photo to the sub menu - Cliquer la photo pour le sous-menu |
Crag Bank |
Click the photo to the sub menu - Cliquer la photo pour le sous-menu |
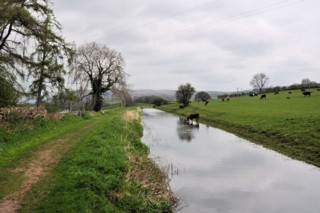
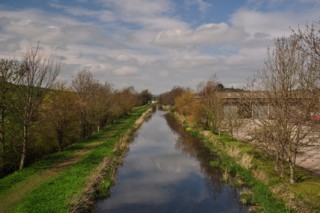
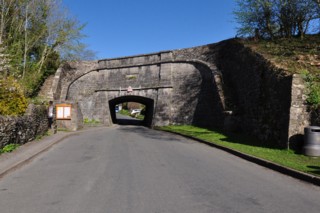
Carnforth |
Click the photo to the sub menu - Cliquer la photo pour le sous-menu |
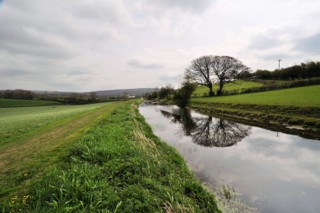
Pastordale |
Click the photo to the sub menu - Cliquer la photo pour le sous-menu |
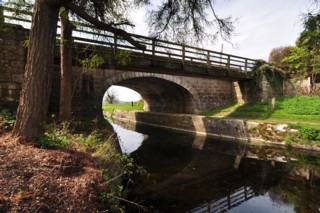
Capernwray |
Click the photo to the sub menu - Cliquer la photo pour le sous-menu |
Borwick |
Click the photo to the sub menu - Cliquer la photo pour le sous-menu |
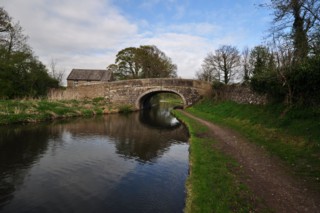
Tewitfield |
Click the photo to the sub menu - Cliquer la photo pour le sous-menu |
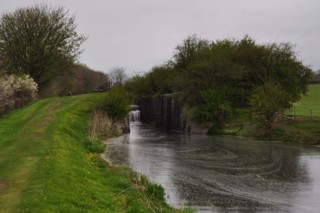
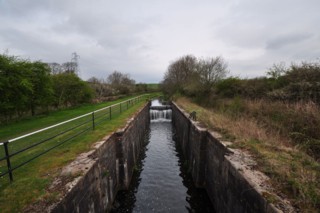
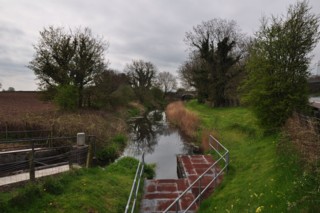
Tewitfield Locks
|
Click the photo to the sub menu - Cliquer la photo pour le sous-menu |
Tewitfield Locks
|
Click the photo to the sub menu - Cliquer la photo pour le sous-menu |
Deerslet |
Click the photo to the sub menu - Cliquer la photo pour le sous-menu |
Cinderbarrow |
Click the photo to the sub menu - Cliquer la photo pour le sous-menu |
Wood House Hill |
Click the photo to the sub menu - Cliquer la photo pour le sous-menu |
Holme Mills |
Click the photo to the sub menu - Cliquer la photo pour le sous-menu |
Holme
|
Click the photo to the sub menu - Cliquer la photo pour le sous-menu |
Holme
|
Click the photo to the sub menu - Cliquer la photo pour le sous-menu |
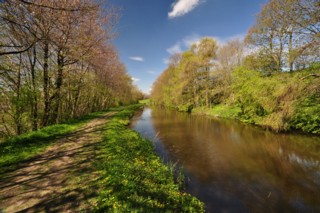
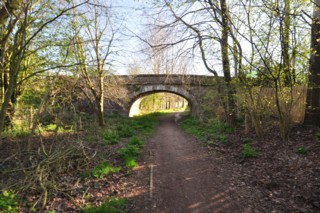
Farleton
|
Click the photo to the sub menu - Cliquer la photo pour le sous-menu |
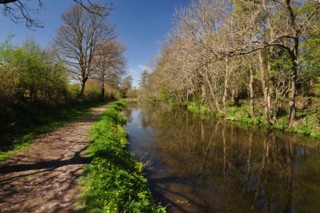
Farleton
|
Click the photo to the sub menu - Cliquer la photo pour le sous-menu |
Longcroft |
Click the photo to the sub menu - Cliquer la photo pour le sous-menu |
Crooklands |
Click the photo to the sub menu - Cliquer la photo pour le sous-menu |
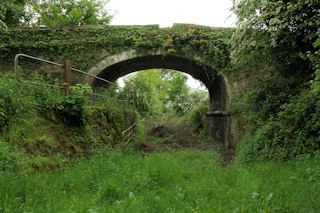
Lane Hill |
Click the photo to the sub menu - Cliquer la photo pour le sous-menu |
Field End |
Click the photo to the sub menu - Cliquer la photo pour le sous-menu |
Sellet Hall |
Click the photo to the sub menu - Cliquer la photo pour le sous-menu |
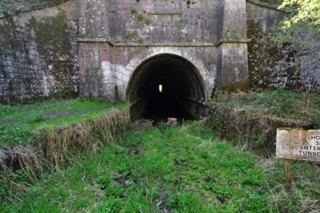
Hincaster Tunnel |
Click the photo to the sub menu - Cliquer la photo pour le sous-menu |
Segdwick |

Click the photo to the sub menu - Cliquer la photo pour le sous-menu |
Crowpark |
Click the photo to the sub menu - Cliquer la photo pour le sous-menu |
Kendal |
|
Visitez/Bezoek/Visit
Click on the image - cliquer sur l'image |
|
Walking the British Waterways |
|
|