|
Leeds & Liverpool Canal
From Blackburn to Skipton |
 |
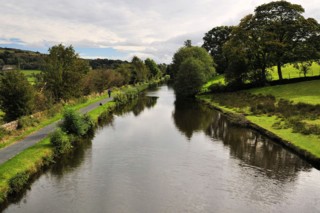
Click the photo to the sub menu - Cliquer la photo pour le sous-menu |
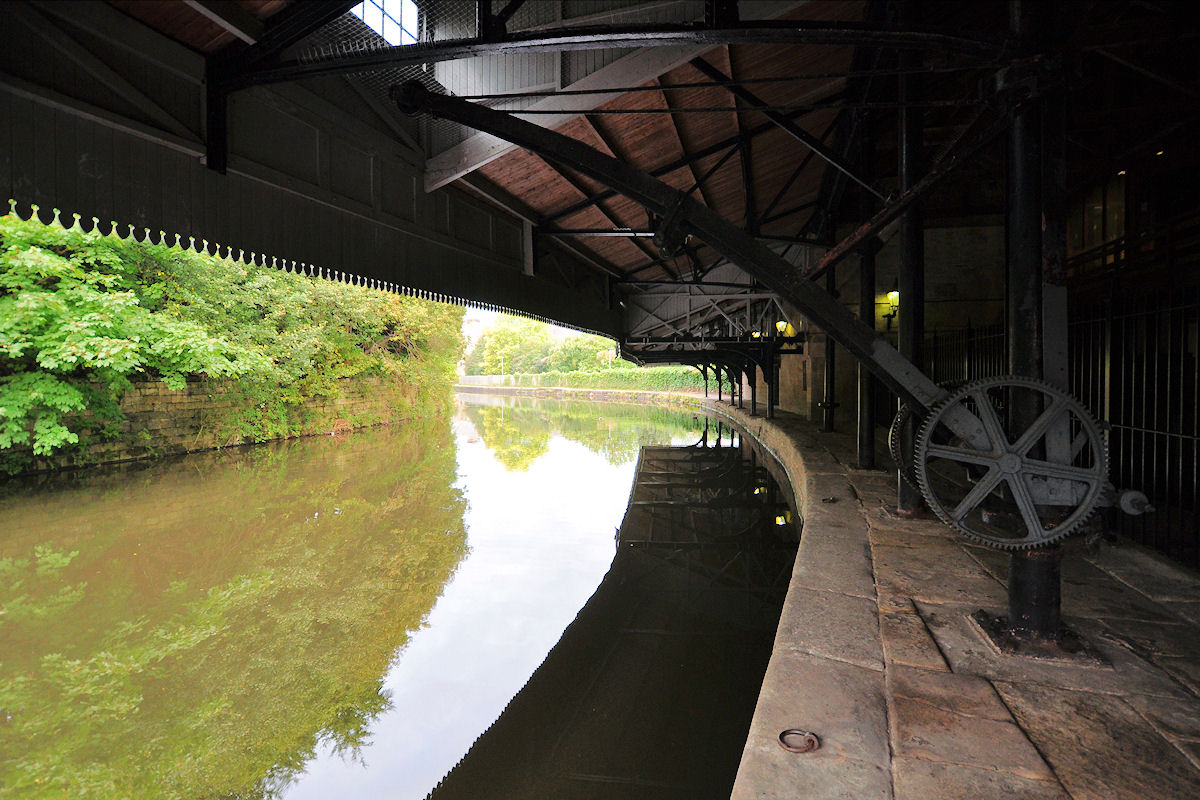
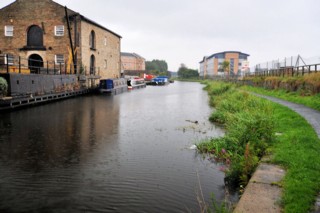
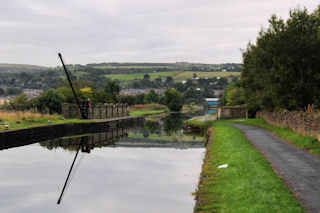
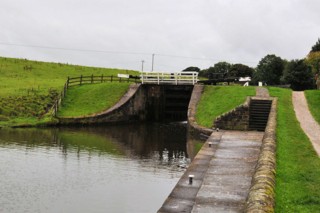
Blackburn Locks
|
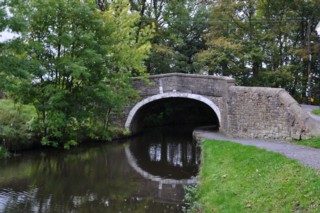
Click the photo to the sub menu - Cliquer la photo pour le sous-menu |
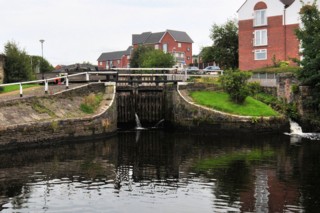
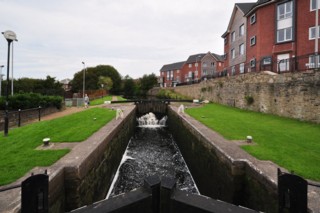
Blackburn Locks
|
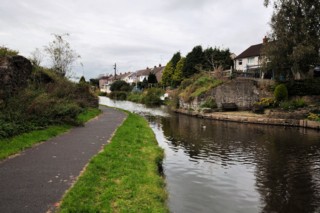
Click the photo to the sub menu - Cliquer la photo pour le sous-menu |
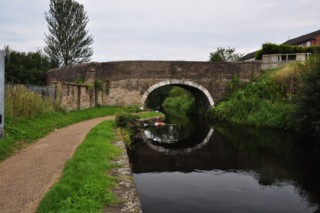
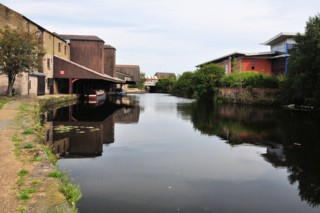
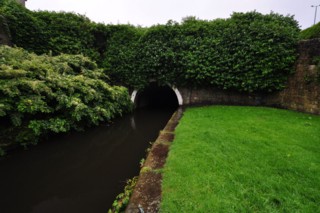
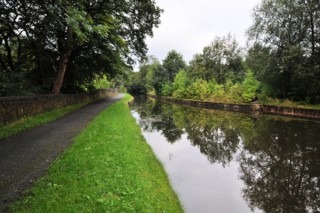
Lower Audley |
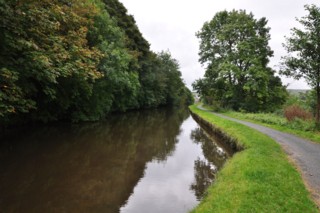
Click the photo to the sub menu - Cliquer la photo pour le sous-menu |
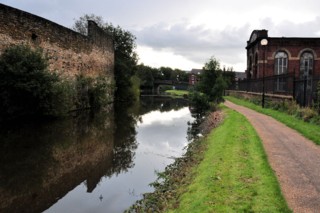
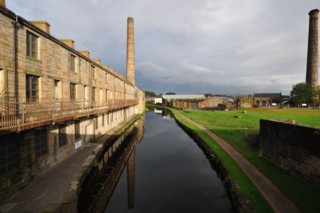
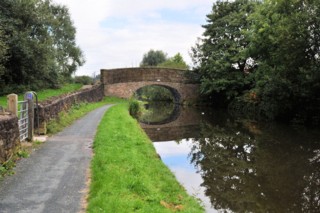
Higher Audley |
Click the photo to the sub menu - Cliquer la photo pour le sous-menu |
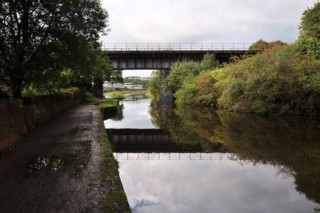
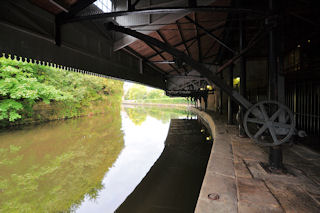
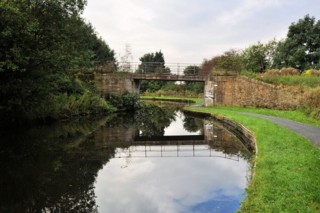
Greenbank |
Click the photo to the sub menu - Cliquer la photo pour le sous-menu |
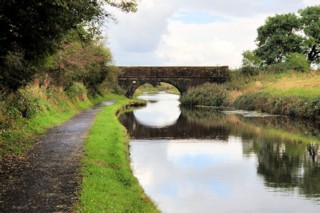
Whitebirk |
Click the photo to the sub menu - Cliquer la photo pour le sous-menu |
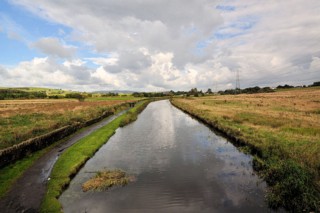
Lower Side Beet |
Click the photo to the sub menu - Cliquer la photo pour le sous-menu |
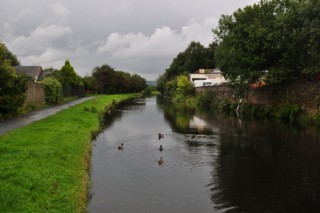
Norden |
Click the photo to the sub menu - Cliquer la photo pour le sous-menu |
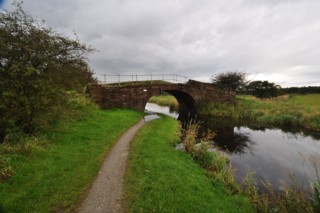
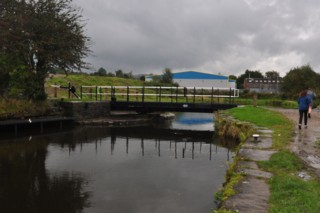
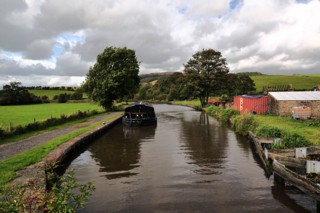
Rishton |
Click the photo to the sub menu - Cliquer la photo pour le sous-menu |
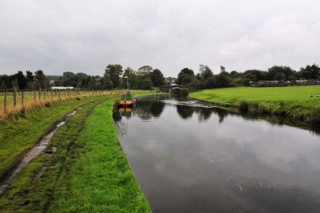
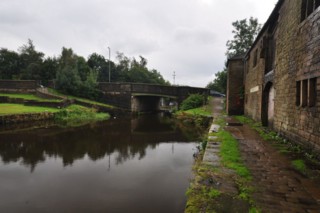
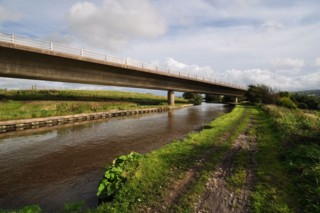
Dunkenhalgh |
Click the photo to the sub menu - Cliquer la photo pour le sous-menu |
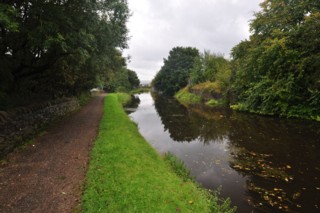
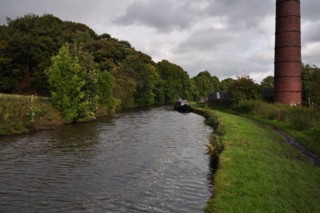
Foxhill Bank |
Click the photo to the sub menu - Cliquer la photo pour le sous-menu |
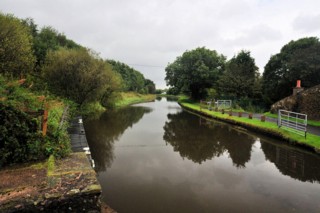
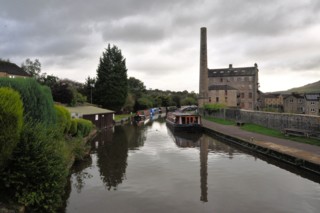
Church Bank |
Click the photo to the sub menu - Cliquer la photo pour le sous-menu |
Enfield |
Click the photo to the sub menu - Cliquer la photo pour le sous-menu |
Clayton-Le-Moors |
Click the photo to the sub menu - Cliquer la photo pour le sous-menu |
Moorside |
Click the photo to the sub menu - Cliquer la photo pour le sous-menu |
Lower Clough Bank |

Click the photo to the sub menu - Cliquer la photo pour le sous-menu |
Altham |
Click the photo to the sub menu - Cliquer la photo pour le sous-menu |
Shuttleworth |
Click the photo to the sub menu - Cliquer la photo pour le sous-menu |
Hapton |

Click the photo to the sub menu - Cliquer la photo pour le sous-menu |
Bentley Wood |
Click the photo to the sub menu - Cliquer la photo pour le sous-menu |
Lower Rosegrove |
Click the photo to the sub menu - Cliquer la photo pour le sous-menu |
Rose Grove |
Click the photo to the sub menu - Cliquer la photo pour le sous-menu |
Whittlefield |
Click the photo to the sub menu - Cliquer la photo pour le sous-menu |
Burnley
|
Click the photo to the sub menu - Cliquer la photo pour le sous-menu |
Burnley
|
Click the photo to the sub menu - Cliquer la photo pour le sous-menu |
Burnley
|
Click the photo to the sub menu - Cliquer la photo pour le sous-menu |
Burnley
|
Click the photo to the sub menu - Cliquer la photo pour le sous-menu |
Burnley
|
Click the photo to the sub menu - Cliquer la photo pour le sous-menu |
Burnley
|
Click the photo to the sub menu - Cliquer la photo pour le sous-menu |
Reedley |
Click the photo to the sub menu - Cliquer la photo pour le sous-menu |
Brierfield |
Click the photo to the sub menu - Cliquer la photo pour le sous-menu |
Lomehaye |
Click the photo to the sub menu - Cliquer la photo pour le sous-menu |
Nelson |
Click the photo to the sub menu - Cliquer la photo pour le sous-menu |
Swinden |
Click the photo to the sub menu - Cliquer la photo pour le sous-menu |
Barrowford Locks |
Click the photo to the sub menu - Cliquer la photo pour le sous-menu |
Alkincoats |
Click the photo to the sub menu - Cliquer la photo pour le sous-menu |
Foulridge |
Click the photo to the sub menu - Cliquer la photo pour le sous-menu |
Wood End |
Click the photo to the sub menu - Cliquer la photo pour le sous-menu |
Salterforth |

Click the photo to the sub menu - Cliquer la photo pour le sous-menu |
Far Hey |
Click the photo to the sub menu - Cliquer la photo pour le sous-menu |
Long Ing |
Click the photo to the sub menu - Cliquer la photo pour le sous-menu |
Coates Hall |
Click the photo to the sub menu - Cliquer la photo pour le sous-menu |
Greenber Field Locks
|
Click the photo to the sub menu - Cliquer la photo pour le sous-menu |
Greenber Field Locks
|
Click the photo to the sub menu - Cliquer la photo pour le sous-menu |
Copy Hill |
Click the photo to the sub menu - Cliquer la photo pour le sous-menu |
South Field |

Click the photo to the sub menu - Cliquer la photo pour le sous-menu |
East Marton |
Click the photo to the sub menu - Cliquer la photo pour le sous-menu |
East Marton |
Click the photo to the sub menu - Cliquer la photo pour le sous-menu |
Langber |
Click the photo to the sub menu - Cliquer la photo pour le sous-menu |
Newton Grange |
Click the photo to the sub menu - Cliquer la photo pour le sous-menu |
Bank Newton Locks |
Click the photo to the sub menu - Cliquer la photo pour le sous-menu |
Priest Holme |
Click the photo to the sub menu - Cliquer la photo pour le sous-menu |
Anchor Plantation |
Click the photo to the sub menu - Cliquer la photo pour le sous-menu |
Gargrave |
Click the photo to the sub menu - Cliquer la photo pour le sous-menu |
Ray Bridge |
Click the photo to the sub menu - Cliquer la photo pour le sous-menu |
Thorlby |
Click the photo to the sub menu - Cliquer la photo pour le sous-menu |
Gawber Hill |
Click the photo to the sub menu - Cliquer la photo pour le sous-menu |
Skipton
|
Click the photo to the sub menu - Cliquer la photo pour le sous-menu |
Skipton
|
Click the photo to the sub menu - Cliquer la photo pour le sous-menu |
Skipton
|
Click the photo to the sub menu - Cliquer la photo pour le sous-menu |
Skipton
|
|
Visitez/Bezoek/Visit
Click on the image - cliquer sur l'image |
|
Leeds & Liverpool Canal. |
|
Walking the British Waterways |
|
|