|
Leeds & Liverpool Canal
From Gargrave to Leeds |
 |
Click the photo to the sub menu - Cliquer la photo pour le sous-menu |
Gargrave |
Click the photo to the sub menu - Cliquer la photo pour le sous-menu |
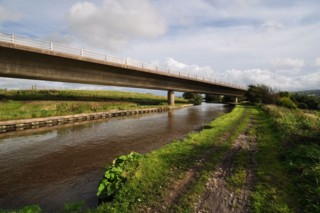
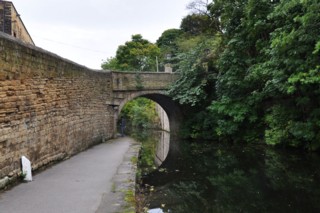
Ray Bridge |
Click the photo to the sub menu - Cliquer la photo pour le sous-menu |
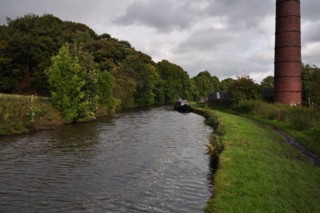
Thorlby |
Click the photo to the sub menu - Cliquer la photo pour le sous-menu |
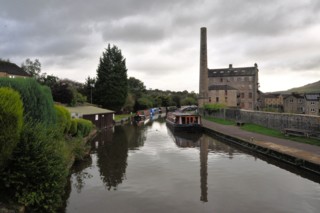
Gawber Hill |
Click the photo to the sub menu - Cliquer la photo pour le sous-menu |
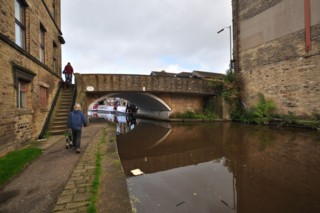
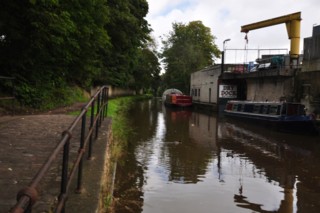
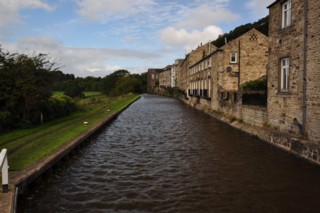
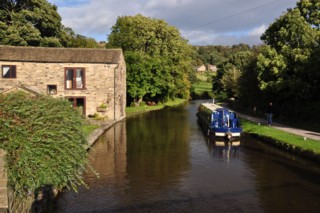
Skipton
|
Click the photo to the sub menu - Cliquer la photo pour le sous-menu |
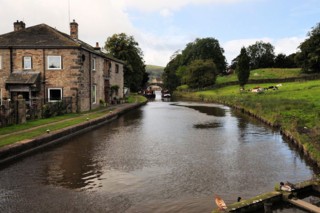
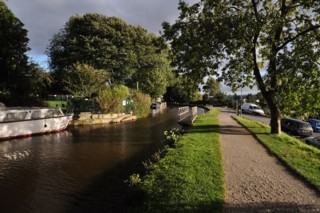
Skipton
|
Click the photo to the sub menu - Cliquer la photo pour le sous-menu |
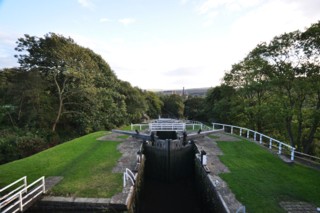
Skipton
|
Click the photo to the sub menu - Cliquer la photo pour le sous-menu |
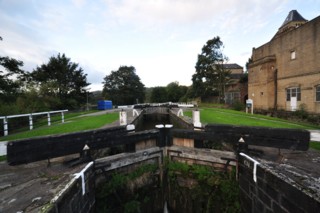
Skipton
|
Click the photo to the sub menu - Cliquer la photo pour le sous-menu |
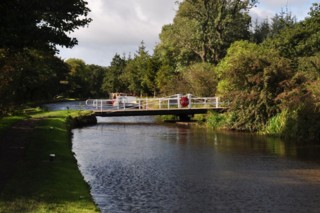
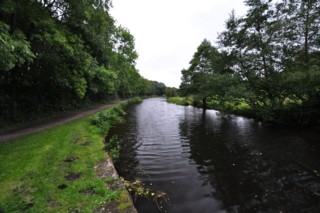
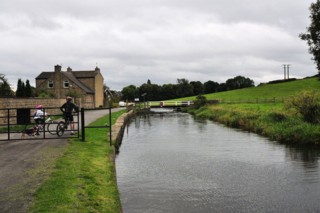
Horse Close |

Click the photo to the sub menu - Cliquer la photo pour le sous-menu |
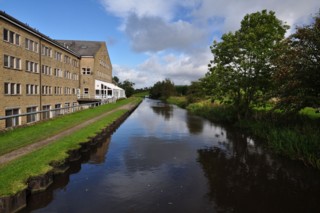
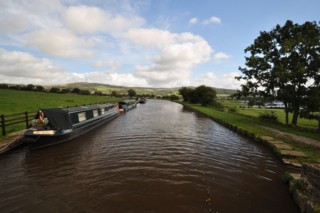
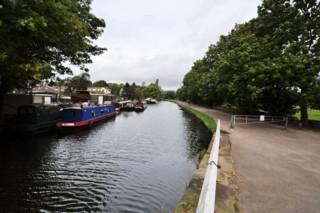
Low Snaygill |
Click the photo to the sub menu - Cliquer la photo pour le sous-menu |
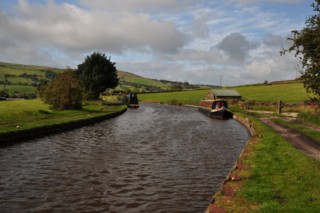
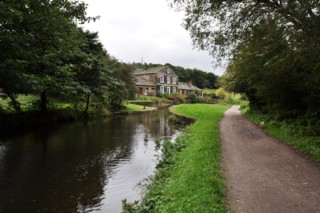
Low Bradley |
Click the photo to the sub menu - Cliquer la photo pour le sous-menu |
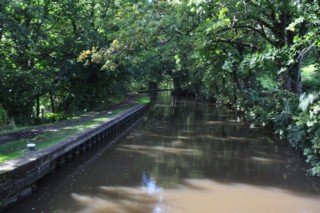
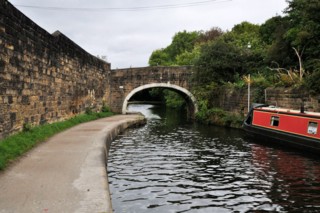
High Farnhill |
Click the photo to the sub menu - Cliquer la photo pour le sous-menu |
Kildwick
|
Click the photo to the sub menu - Cliquer la photo pour le sous-menu |
Kildwick
|
Click the photo to the sub menu - Cliquer la photo pour le sous-menu |
Kildwick Ings |
Click the photo to the sub menu - Cliquer la photo pour le sous-menu |
Woodside |
Click the photo to the sub menu - Cliquer la photo pour le sous-menu |
Silsden |
Click the photo to the sub menu - Cliquer la photo pour le sous-menu |
Howden Park |

Click the photo to the sub menu - Cliquer la photo pour le sous-menu |
Holden Park |
Click the photo to the sub menu - Cliquer la photo pour le sous-menu |
Elam Wood |

Click the photo to the sub menu - Cliquer la photo pour le sous-menu |
Low Banks |
Click the photo to the sub menu - Cliquer la photo pour le sous-menu |
Riddlesden |
Click the photo to the sub menu - Cliquer la photo pour le sous-menu |
Sandbeds |
Click the photo to the sub menu - Cliquer la photo pour le sous-menu |
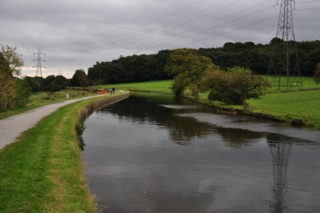
Crossflatts |
Click the photo to the sub menu - Cliquer la photo pour le sous-menu |
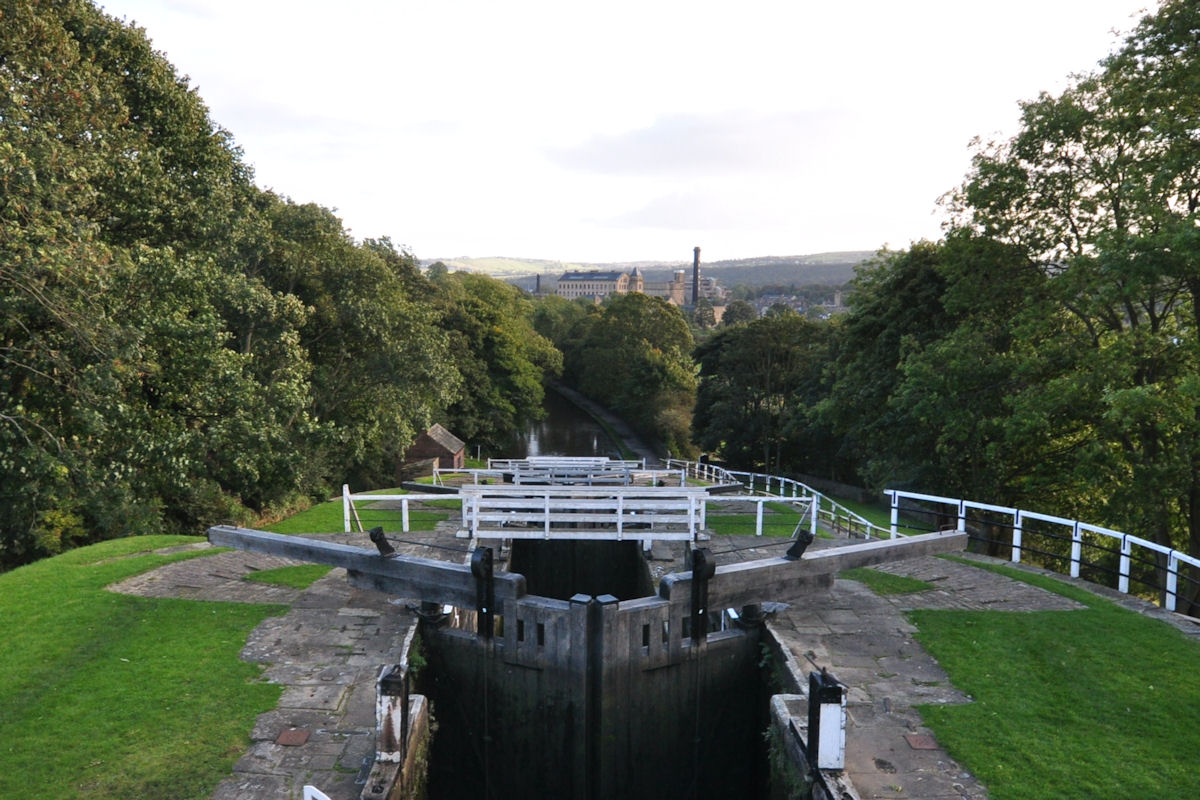
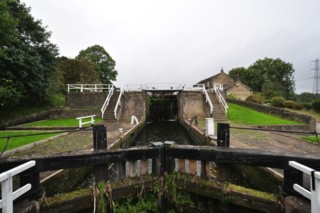
Bingley Five Rise Locks |
Click the photo to the sub menu - Cliquer la photo pour le sous-menu |
Bingley Three Rise Locks |
Click the photo to the sub menu - Cliquer la photo pour le sous-menu |
Bingley |
Click the photo to the sub menu - Cliquer la photo pour le sous-menu |
Old Hills |
Click the photo to the sub menu - Cliquer la photo pour le sous-menu |
Dowley Gap |
Click the photo to the sub menu - Cliquer la photo pour le sous-menu |
Saltaire |
Click the photo to the sub menu - Cliquer la photo pour le sous-menu |
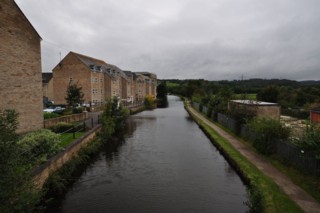
Shipley |
Click the photo to the sub menu - Cliquer la photo pour le sous-menu |
Baildon Wood Bottom |
Click the photo to the sub menu - Cliquer la photo pour le sous-menu |
Thackley End |
Click the photo to the sub menu - Cliquer la photo pour le sous-menu |
Field Locks |
Click the photo to the sub menu - Cliquer la photo pour le sous-menu |
Dawson Wood |
Click the photo to the sub menu - Cliquer la photo pour le sous-menu |
Apperley |
Click the photo to the sub menu - Cliquer la photo pour le sous-menu |
Apperley Bridge |
Click the photo to the sub menu - Cliquer la photo pour le sous-menu |
Lodge Wood |
Click the photo to the sub menu - Cliquer la photo pour le sous-menu |
Calverley Bridge |
Click the photo to the sub menu - Cliquer la photo pour le sous-menu |
Rodley |
Click the photo to the sub menu - Cliquer la photo pour le sous-menu |
Whitecote |
Click the photo to the sub menu - Cliquer la photo pour le sous-menu |
Newlay |
Click the photo to the sub menu - Cliquer la photo pour le sous-menu |
Bramley Fall |
Click the photo to the sub menu - Cliquer la photo pour le sous-menu |
Kirkstall Abbey |
Click the photo to the sub menu - Cliquer la photo pour le sous-menu |
Kirkstall |
Click the photo to the sub menu - Cliquer la photo pour le sous-menu |
Upper Armley |
Click the photo to the sub menu - Cliquer la photo pour le sous-menu |
Armley |
Click the photo to the sub menu - Cliquer la photo pour le sous-menu |
Leeds
|
Click the photo to the sub menu - Cliquer la photo pour le sous-menu |
Leeds
|

Click the photo to the sub menu - Cliquer la photo pour le sous-menu |
Leeds
|
Click the photo to the sub menu - Cliquer la photo pour le sous-menu |
Leeds
|
|
Visitez/Bezoek/Visit
Click on the image - cliquer sur l'image |
|
Leeds & Liverpool Canal. |
 |
News Group - Groupe de News
|
|
|