|
Trent & Mersey Canal
From Stoke-on-Trent to Preston |
 |
Click the photo to the sub menu - Cliquer la photo pour le sous-menu |
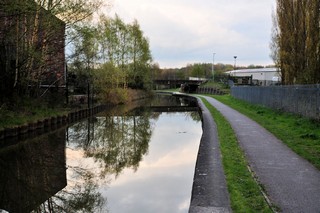
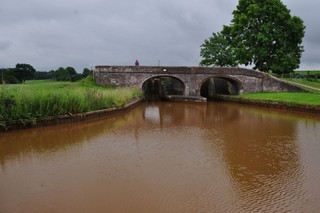
Stoke-on-Trent
|

Click the photo to the sub menu - Cliquer la photo pour le sous-menu |
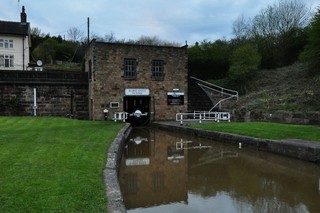
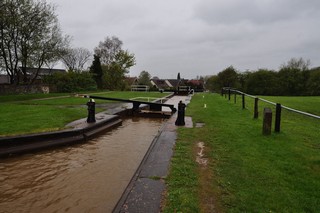
Stoke Flight |
Click the photo to the sub menu - Cliquer la photo pour le sous-menu |
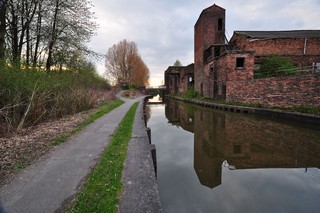
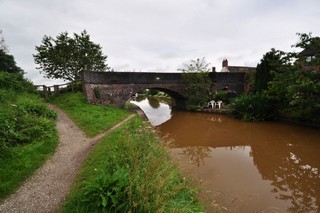
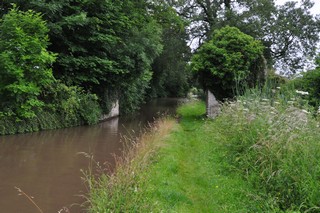
Etruria
|
Click the photo to the sub menu - Cliquer la photo pour le sous-menu |
Etruria
|
Click the photo to the sub menu - Cliquer la photo pour le sous-menu |
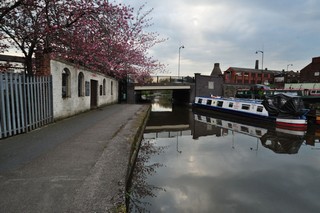
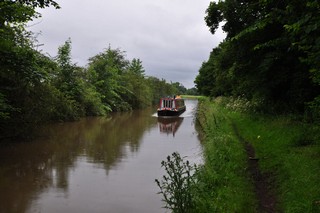
Grange |
Click the photo to the sub menu - Cliquer la photo pour le sous-menu |
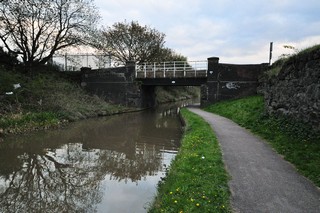
Middleport |
Click the photo to the sub menu - Cliquer la photo pour le sous-menu |
Longport |
Click the photo to the sub menu - Cliquer la photo pour le sous-menu |
Westport |
Click the photo to the sub menu - Cliquer la photo pour le sous-menu |
Chatterley |
Click the photo to the sub menu - Cliquer la photo pour le sous-menu |
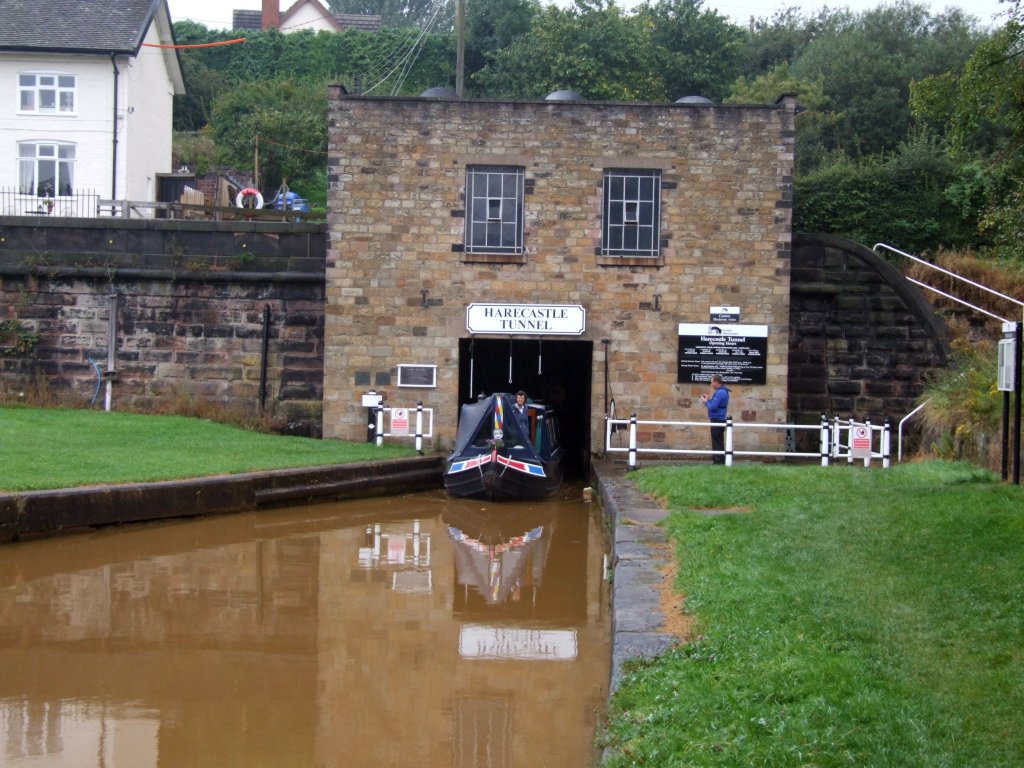
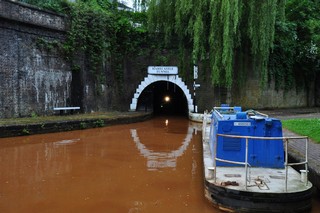
Kidsgrove |
Click the photo to the sub menu - Cliquer la photo pour le sous-menu |
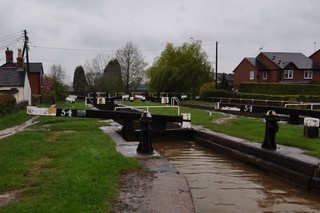
Red Bull Flight |
Click the photo to the sub menu - Cliquer la photo pour le sous-menu |
Church Locks |
Click the photo to the sub menu - Cliquer la photo pour le sous-menu |
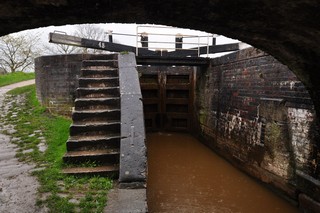
Hall's Lock |
Click the photo to the sub menu - Cliquer la photo pour le sous-menu |
Lawton Treble Locks
|

Click the photo to the sub menu - Cliquer la photo pour le sous-menu |
Lawton Treble Locks
|

Click the photo to the sub menu - Cliquer la photo pour le sous-menu |
Smithy |
Click the photo to the sub menu - Cliquer la photo pour le sous-menu |
Rode Heath |
Click the photo to the sub menu - Cliquer la photo pour le sous-menu |
Thurlwood |
Click the photo to the sub menu - Cliquer la photo pour le sous-menu |
Chellshill |
Click the photo to the sub menu - Cliquer la photo pour le sous-menu |
Pierpoint Locks |
Click the photo to the sub menu - Cliquer la photo pour le sous-menu |
Hassall Green Locks |
Click the photo to the sub menu - Cliquer la photo pour le sous-menu |
Hassall Green |

Click the photo to the sub menu - Cliquer la photo pour le sous-menu |
Malkin's Bank Flight |
Click the photo to the sub menu - Cliquer la photo pour le sous-menu |
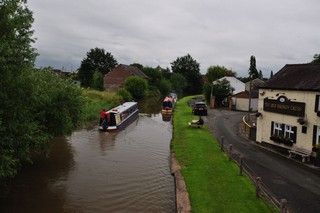
Wheelock |

Click the photo to the sub menu - Cliquer la photo pour le sous-menu |
Paddys Wood |

Click the photo to the sub menu - Cliquer la photo pour le sous-menu |
Elton |
Click the photo to the sub menu - Cliquer la photo pour le sous-menu |
Booth Lane Flight
|
Click the photo to the sub menu - Cliquer la photo pour le sous-menu |
Booth Lane Flight
|
Click the photo to the sub menu - Cliquer la photo pour le sous-menu |
Moston |
Click the photo to the sub menu - Cliquer la photo pour le sous-menu |
Wimboldsley |
Click the photo to the sub menu - Cliquer la photo pour le sous-menu |
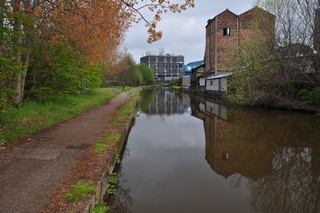
Middlewich Junction |
Click the photo to the sub menu - Cliquer la photo pour le sous-menu |
Middlewich Locks
|
Click the photo to the sub menu - Cliquer la photo pour le sous-menu |
Middlewich Locks
|
Click the photo to the sub menu - Cliquer la photo pour le sous-menu |
Croxton
|
Click the photo to the sub menu - Cliquer la photo pour le sous-menu |
Croxton
|
Click the photo to the sub menu - Cliquer la photo pour le sous-menu |
Bostock |
Click the photo to the sub menu - Cliquer la photo pour le sous-menu |
Whatcroft |
Click the photo to the sub menu - Cliquer la photo pour le sous-menu |
Higginslane |
Click the photo to the sub menu - Cliquer la photo pour le sous-menu |
Higher Shurlach |
Click the photo to the sub menu - Cliquer la photo pour le sous-menu |
Rudheath |
Click the photo to the sub menu - Cliquer la photo pour le sous-menu |
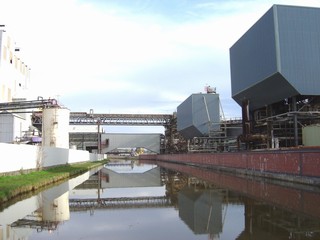
Northwich Chemical Works |

Click the photo to the sub menu - Cliquer la photo pour le sous-menu |
Wincham |
Click the photo to the sub menu - Cliquer la photo pour le sous-menu |
Marbury |
Click the photo to the sub menu - Cliquer la photo pour le sous-menu |
Anderton
|
Click the photo to the sub menu - Cliquer la photo pour le sous-menu |
Anderton
|
Click the photo to the sub menu - Cliquer la photo pour le sous-menu |
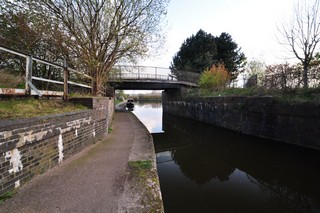
Barnton |
Click the photo to the sub menu - Cliquer la photo pour le sous-menu |
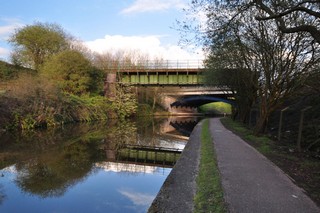
Saltersford |
Click the photo to the sub menu - Cliquer la photo pour le sous-menu |
Little Leigh |
Click the photo to the sub menu - Cliquer la photo pour le sous-menu |
Bartington |
Click the photo to the sub menu - Cliquer la photo pour le sous-menu |
Dutton Hall |
Click the photo to the sub menu - Cliquer la photo pour le sous-menu |
Bluebell Cott |
Click the photo to the sub menu - Cliquer la photo pour le sous-menu |
Dutton Hall |
|
Visitez/Bezoek/Visit
Click on the image - cliquer sur l'image |
|
The Trent & Mersey Canal |
|
Walking the British Waterways |
|
|