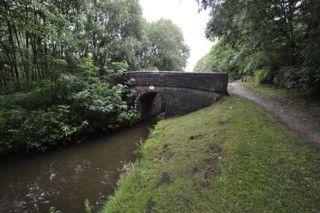
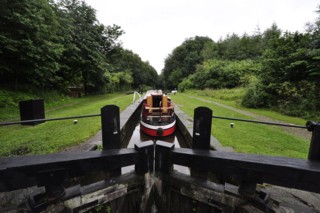
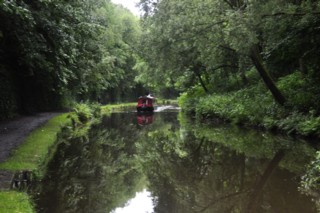
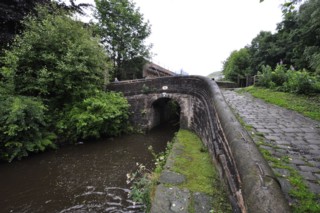
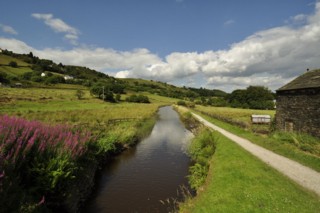
| Huddersfield Narrow Canal |
 |
Click the photo to the sub menu - Cliquer la photo pour le sous-menu |
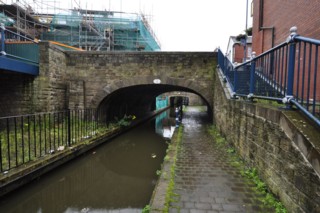
Whitelands |
Click the photo to the sub menu - Cliquer la photo pour le sous-menu |
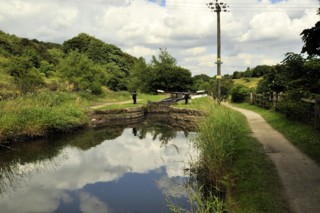
Cockbrook |
Click the photo to the sub menu - Cliquer la photo pour le sous-menu |
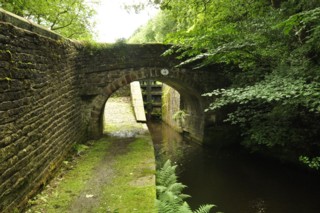
Hydes |
Click the photo to the sub menu - Cliquer la photo pour le sous-menu |
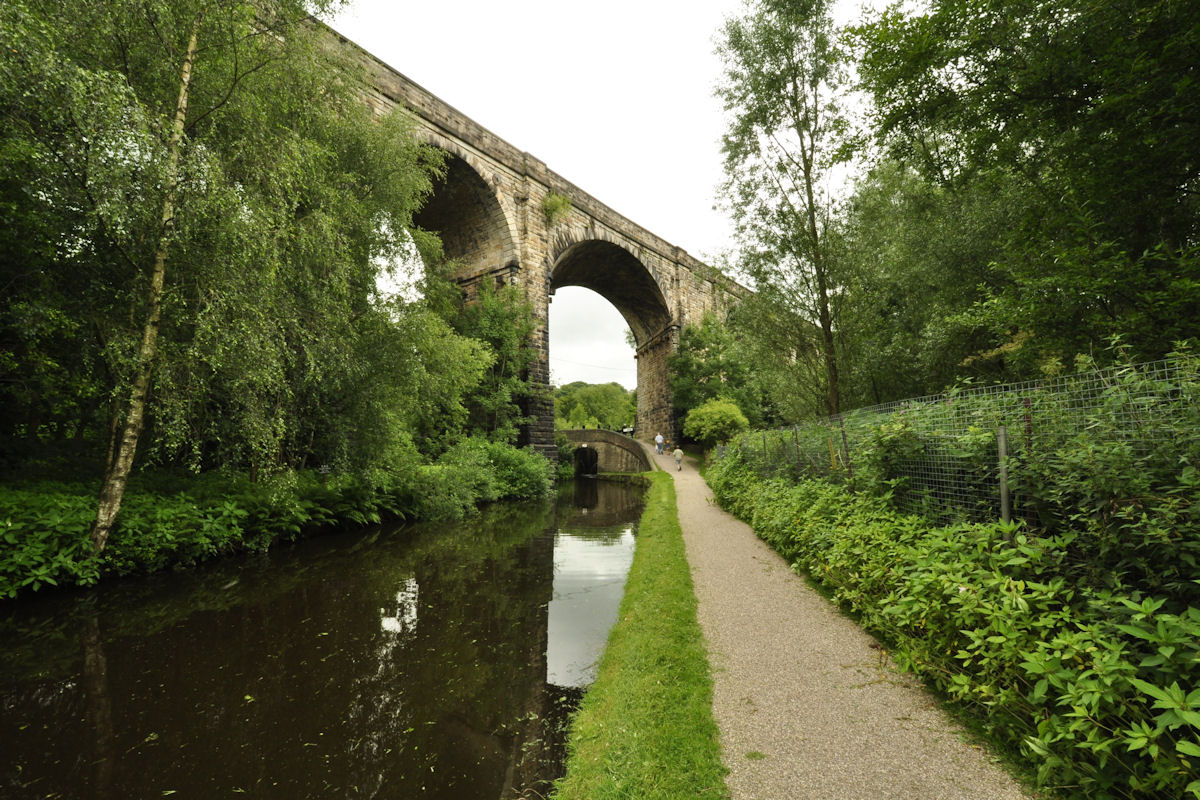
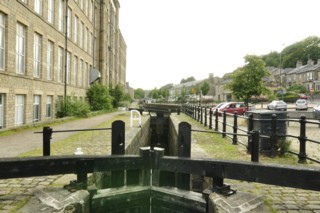
Stalybridge
|
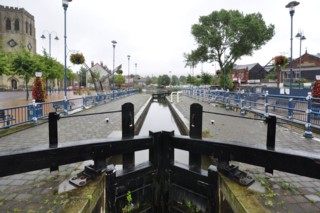
Click the photo to the sub menu - Cliquer la photo pour le sous-menu |
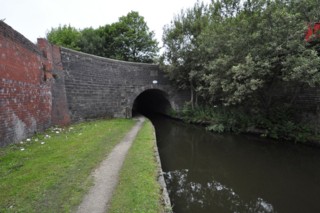
Stalybridge
|
Click the photo to the sub menu - Cliquer la photo pour le sous-menu |
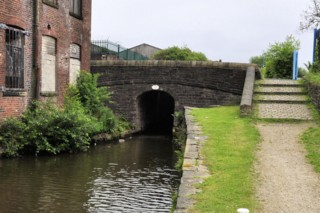
Stalybridge
|
Click the photo to the sub menu - Cliquer la photo pour le sous-menu |
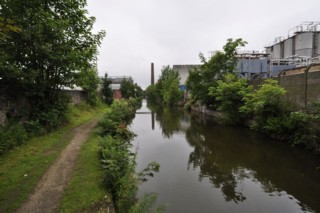
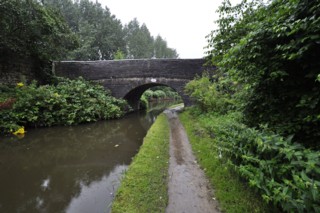
Heyrod
|
Click the photo to the sub menu - Cliquer la photo pour le sous-menu |
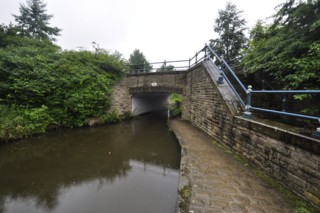
Heyrod
|
Click the photo to the sub menu - Cliquer la photo pour le sous-menu |
Luzley |
Click the photo to the sub menu - Cliquer la photo pour le sous-menu |
Micklehurst |
Click the photo to the sub menu - Cliquer la photo pour le sous-menu |
Woodend |
Click the photo to the sub menu - Cliquer la photo pour le sous-menu |
Roaches |
Click the photo to the sub menu - Cliquer la photo pour le sous-menu |
Grasscroft |
Click the photo to the sub menu - Cliquer la photo pour le sous-menu |
Shaw Hall |
Click the photo to the sub menu - Cliquer la photo pour le sous-menu |
Greenfield |
Click the photo to the sub menu - Cliquer la photo pour le sous-menu |
Uppermill |
Click the photo to the sub menu - Cliquer la photo pour le sous-menu |
Woolroad |
Click the photo to the sub menu - Cliquer la photo pour le sous-menu |
Marslands |
Click the photo to the sub menu - Cliquer la photo pour le sous-menu |
Diggle |
Click the photo to the sub menu - Cliquer la photo pour le sous-menu |
Marsden
|
Click the photo to the sub menu - Cliquer la photo pour le sous-menu |
Marsden
|
Click the photo to the sub menu - Cliquer la photo pour le sous-menu |
Marsden
|
Click the photo to the sub menu - Cliquer la photo pour le sous-menu |
Ashton Binn |
Click the photo to the sub menu - Cliquer la photo pour le sous-menu |
Booth |
Click the photo to the sub menu - Cliquer la photo pour le sous-menu |
Dam |
Click the photo to the sub menu - Cliquer la photo pour le sous-menu |
Waring Bridge |

Click the photo to the sub menu - Cliquer la photo pour le sous-menu |
Slaithwaite
|
Click the photo to the sub menu - Cliquer la photo pour le sous-menu |
Slaithwaite
|
Click the photo to the sub menu - Cliquer la photo pour le sous-menu |
Slaithwaite
|
Click the photo to the sub menu - Cliquer la photo pour le sous-menu |
Linthwaite |
Click the photo to the sub menu - Cliquer la photo pour le sous-menu |
Golcar |
Click the photo to the sub menu - Cliquer la photo pour le sous-menu |
Scar Wood |
Click the photo to the sub menu - Cliquer la photo pour le sous-menu |
Milnsbridge |
Click the photo to the sub menu - Cliquer la photo pour le sous-menu |
Paddock Brow |
Click the photo to the sub menu - Cliquer la photo pour le sous-menu |
Paddock Foot |
Click the photo to the sub menu - Cliquer la photo pour le sous-menu |
Huddersfield
|
Click the photo to the sub menu - Cliquer la photo pour le sous-menu |
Huddersfield
|
Click the photo to the sub menu - Cliquer la photo pour le sous-menu |
Huddersfield
|
|
Visitez/Bezoek/Visit
Click on the image - cliquer sur l'image |
|
Walking the British Waterways |
|
|
Huddersfield Narrow Canal |
|
|