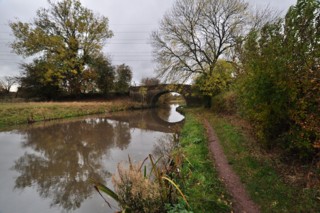
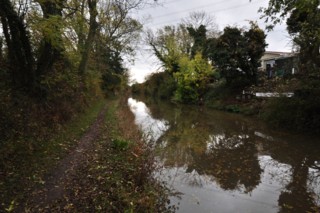
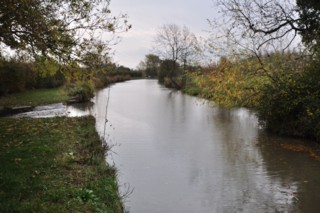
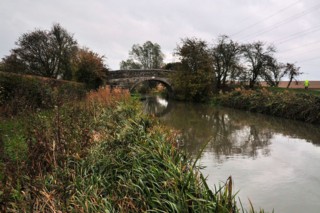
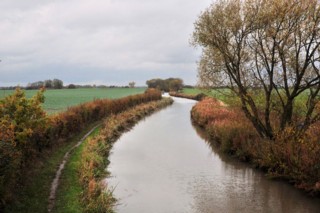
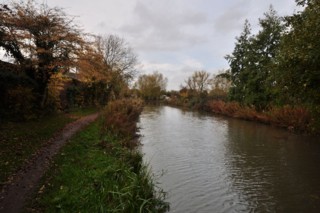
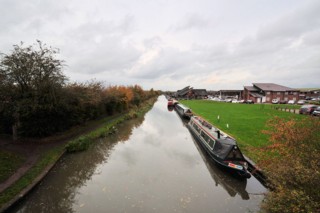
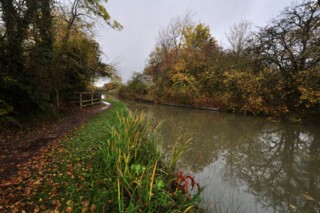
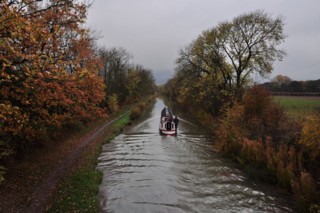
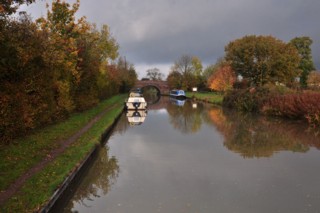
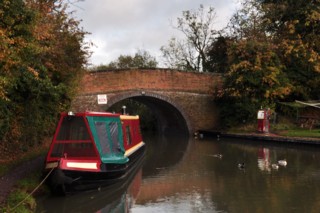
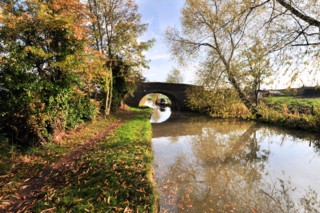
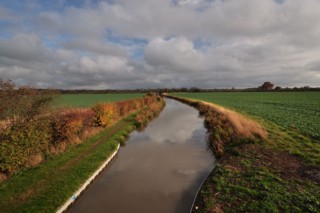
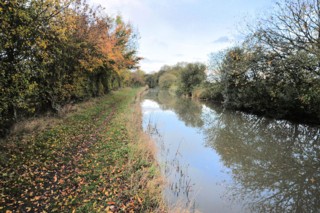
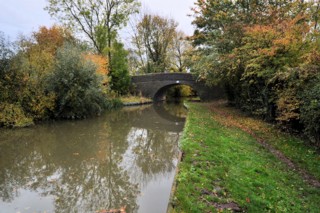
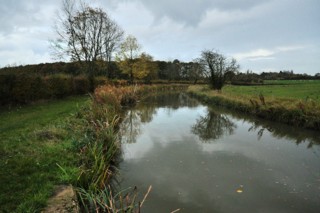
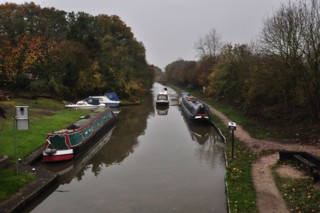
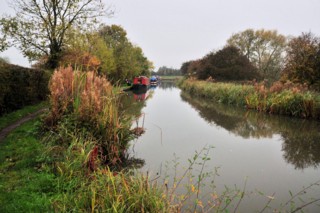
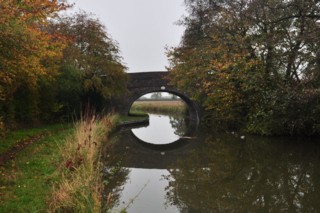
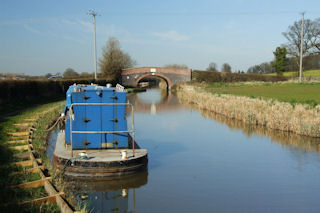
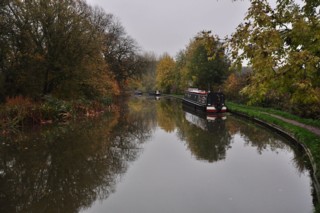
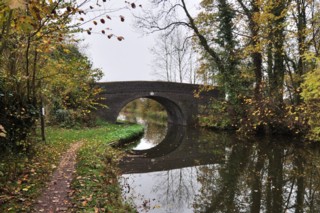
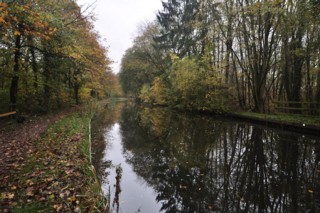
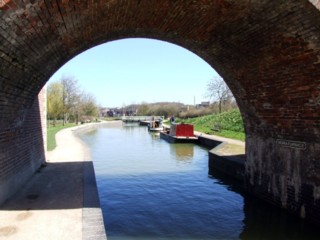
| Ashby Canal |
 |
Click the photo to the sub menu - Cliquer la photo pour le sous-menu |
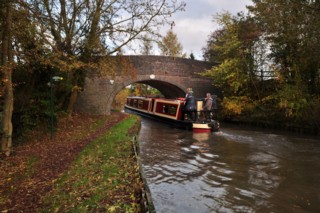
Bedworth |

Click the photo to the sub menu - Cliquer la photo pour le sous-menu |
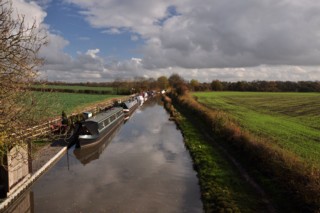
Marston Jabbett |
Click the photo to the sub menu - Cliquer la photo pour le sous-menu |
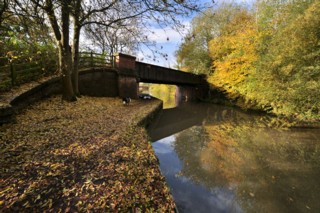
Whitestone |
Click the photo to the sub menu - Cliquer la photo pour le sous-menu |
Bramcote |

Click the photo to the sub menu - Cliquer la photo pour le sous-menu |
Attleborough Gorse |
Click the photo to the sub menu - Cliquer la photo pour le sous-menu |
Burton Hastings |
Click the photo to the sub menu - Cliquer la photo pour le sous-menu |
Stretton Baskerville
|

Click the photo to the sub menu - Cliquer la photo pour le sous-menu |
Stretton Baskerville
|
Click the photo to the sub menu - Cliquer la photo pour le sous-menu |
The Limekilns |
Click the photo to the sub menu - Cliquer la photo pour le sous-menu |
Hinckley
|
Click the photo to the sub menu - Cliquer la photo pour le sous-menu |
Hinckley
|
Click the photo to the sub menu - Cliquer la photo pour le sous-menu |
Higham Thorns |
Click the photo to the sub menu - Cliquer la photo pour le sous-menu |
Higham on the Hill |
Click the photo to the sub menu - Cliquer la photo pour le sous-menu |
Stoke Golding |
Click the photo to the sub menu - Cliquer la photo pour le sous-menu |
Dadlington
|
Click the photo to the sub menu - Cliquer la photo pour le sous-menu |
Dadlington
|
Click the photo to the sub menu - Cliquer la photo pour le sous-menu |
Dadlington
|
Click the photo to the sub menu - Cliquer la photo pour le sous-menu |
Sutton Wharf |
Click the photo to the sub menu - Cliquer la photo pour le sous-menu |
Ambion Hill |
Click the photo to the sub menu - Cliquer la photo pour le sous-menu |
Shenton |
Click the photo to the sub menu - Cliquer la photo pour le sous-menu |
Far Coton
|
Click the photo to the sub menu - Cliquer la photo pour le sous-menu |
Far Coton
|
Click the photo to the sub menu - Cliquer la photo pour le sous-menu |
Market Bosworth |
Click the photo to the sub menu - Cliquer la photo pour le sous-menu |
Carlton |
Click the photo to the sub menu - Cliquer la photo pour le sous-menu |
Congerstone
|
Click the photo to the sub menu - Cliquer la photo pour le sous-menu |
Congerstone
|
Click the photo to the sub menu - Cliquer la photo pour le sous-menu |
Shackerstone |
Click the photo to the sub menu - Cliquer la photo pour le sous-menu |
Shackerstone Fields |
Click the photo to the sub menu - Cliquer la photo pour le sous-menu |
Shornhill |

Click the photo to the sub menu - Cliquer la photo pour le sous-menu |
The Shrubberies |
|
Click the photo to the sub menu - Cliquer la photo pour le sous-menu |
Snarestone |

Click the photo to the sub menu - Cliquer la photo pour le sous-menu |
Measham |
Click the photo to the sub menu - Cliquer la photo pour le sous-menu |
Moira |
|
Visitez/Bezoek/Visit
Click on the image - cliquer sur l'image |
|
Walking the British Waterways |
|
|